Image
Insert a reference image over the drawing.
Step by step
1. Pick the tool.
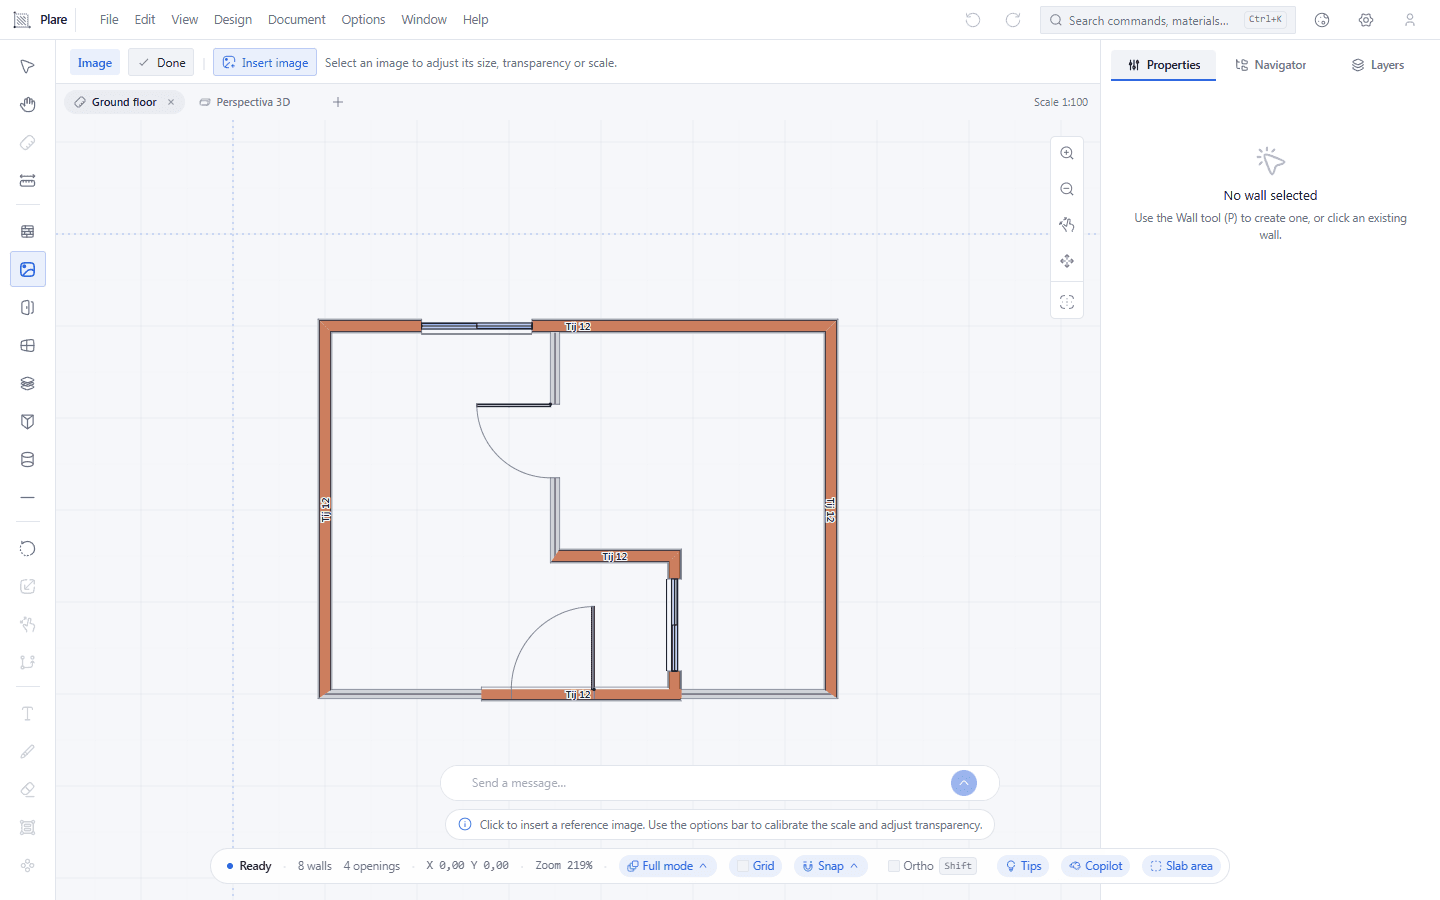
The bar carries the Insert image button and the notice that nothing is selected — Image does not draw, it waits for the file.
2. Choose Image and click where the image goes.
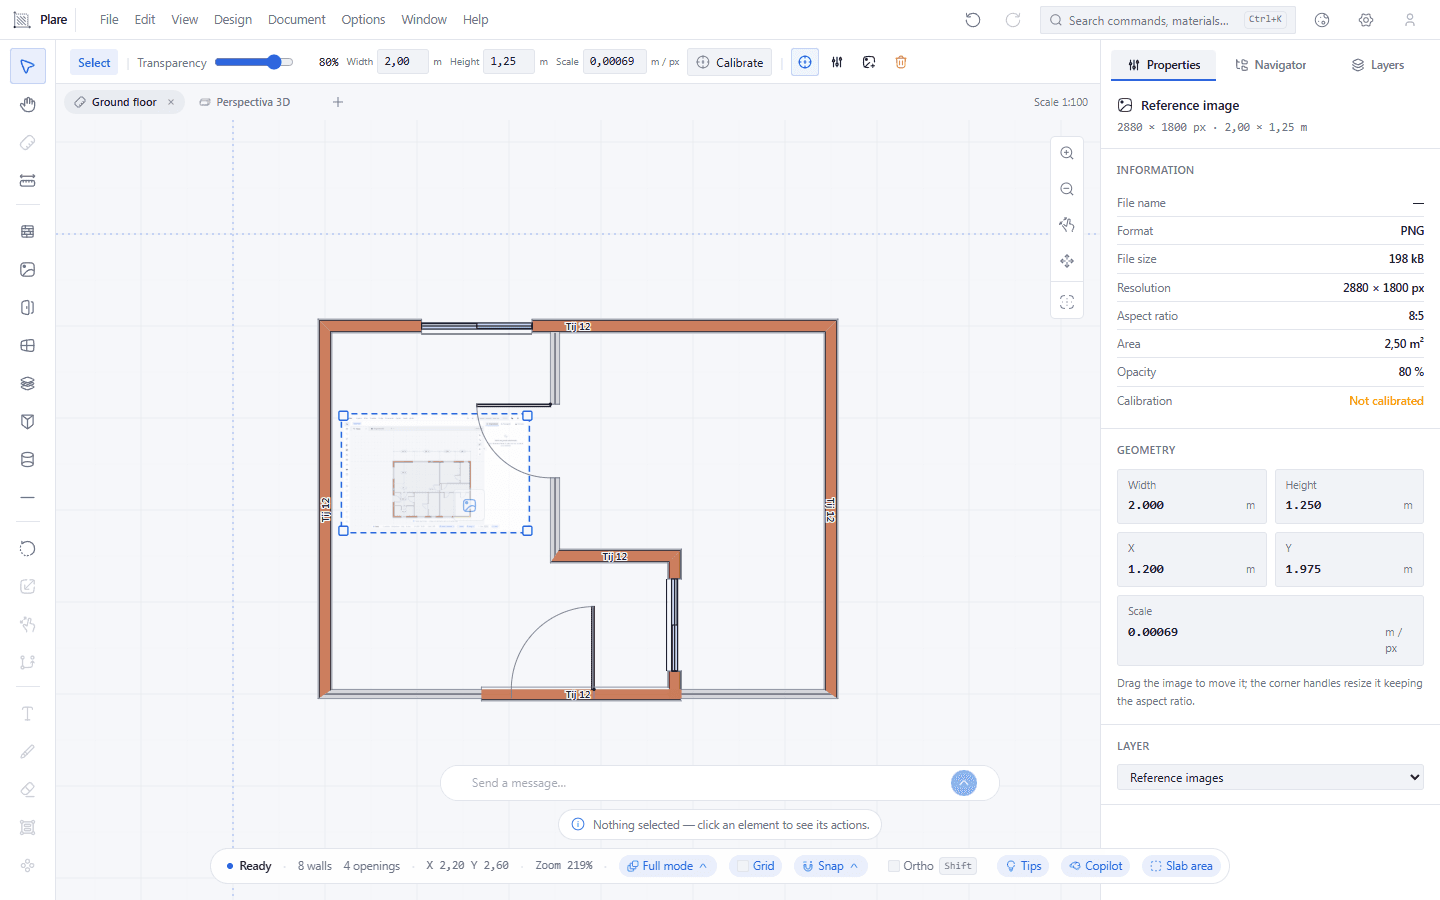
The click asks for the file, and the reference plan comes in semi-transparent, centred on the point you clicked, so you can trace over it.
3. Select the image to reach its options.
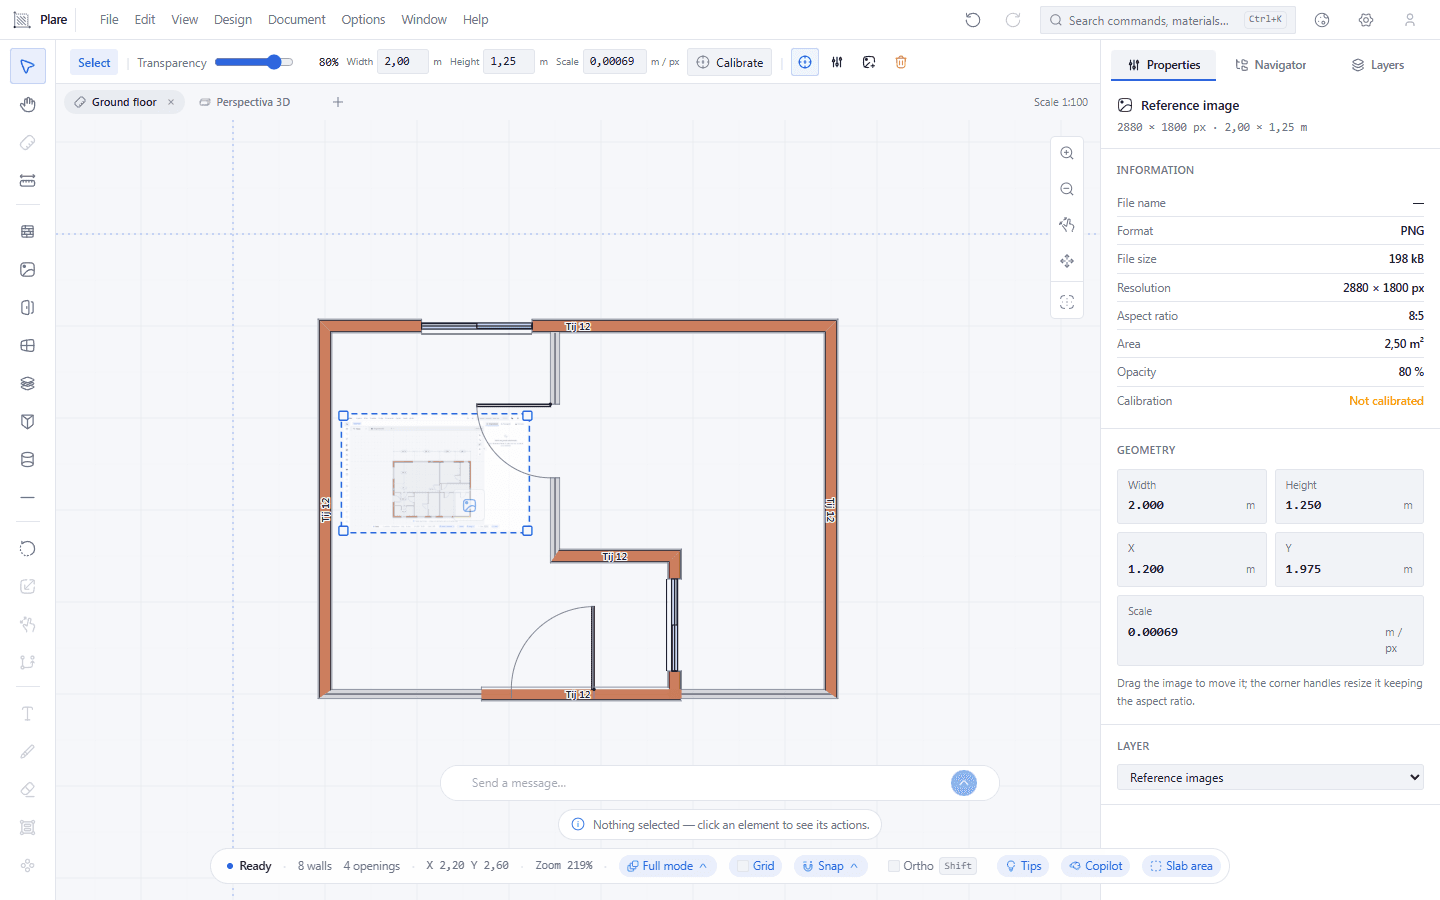
The image only responds to the pointer with Select active — with the tool armed, the same click would open another file on top. Chosen, the bar brings Transparency, Width, Height, Scale and the Calibrate button.
4. Calibrate the image against a known distance.
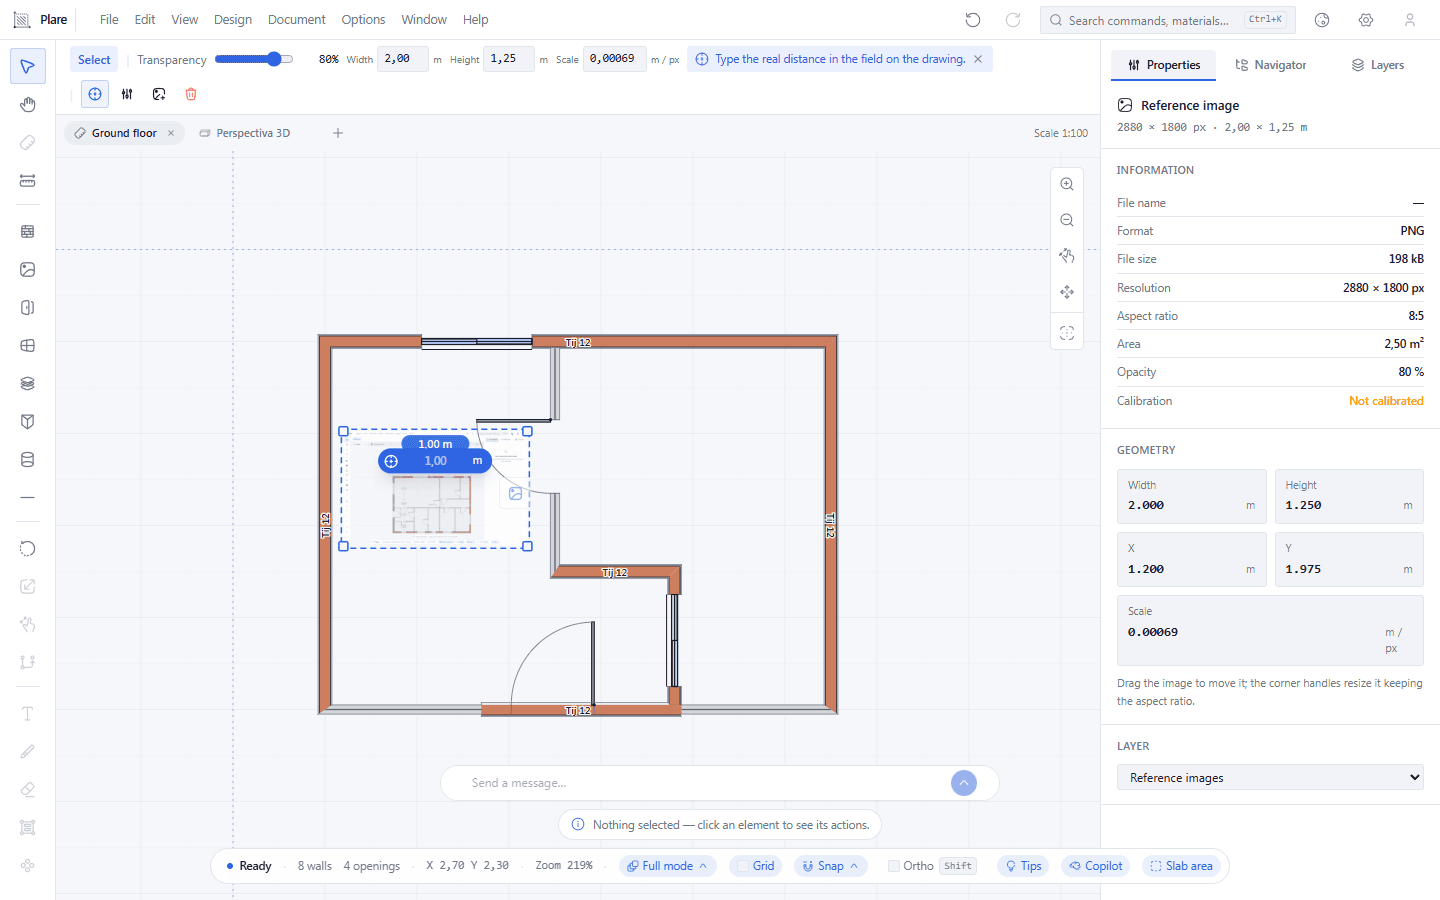
Two points on the image ask for the real measurement between them, with the field beside waiting for the number. The calibrated scale applies to the whole image.
Worth knowing
- Calibration is done by clicking two points on the image and entering the real distance between them.
- Default: 80 % opacity so the geometry underneath stays visible.
- The image is a reference: it does not enter the 3D model or the exported DWG.
- The calibrated scale applies to the whole image; there is no need to redefine it each session.