Roof
Draw the roof — the slab gesture, plus the pitch.
Step by step
1. Pick the tool.
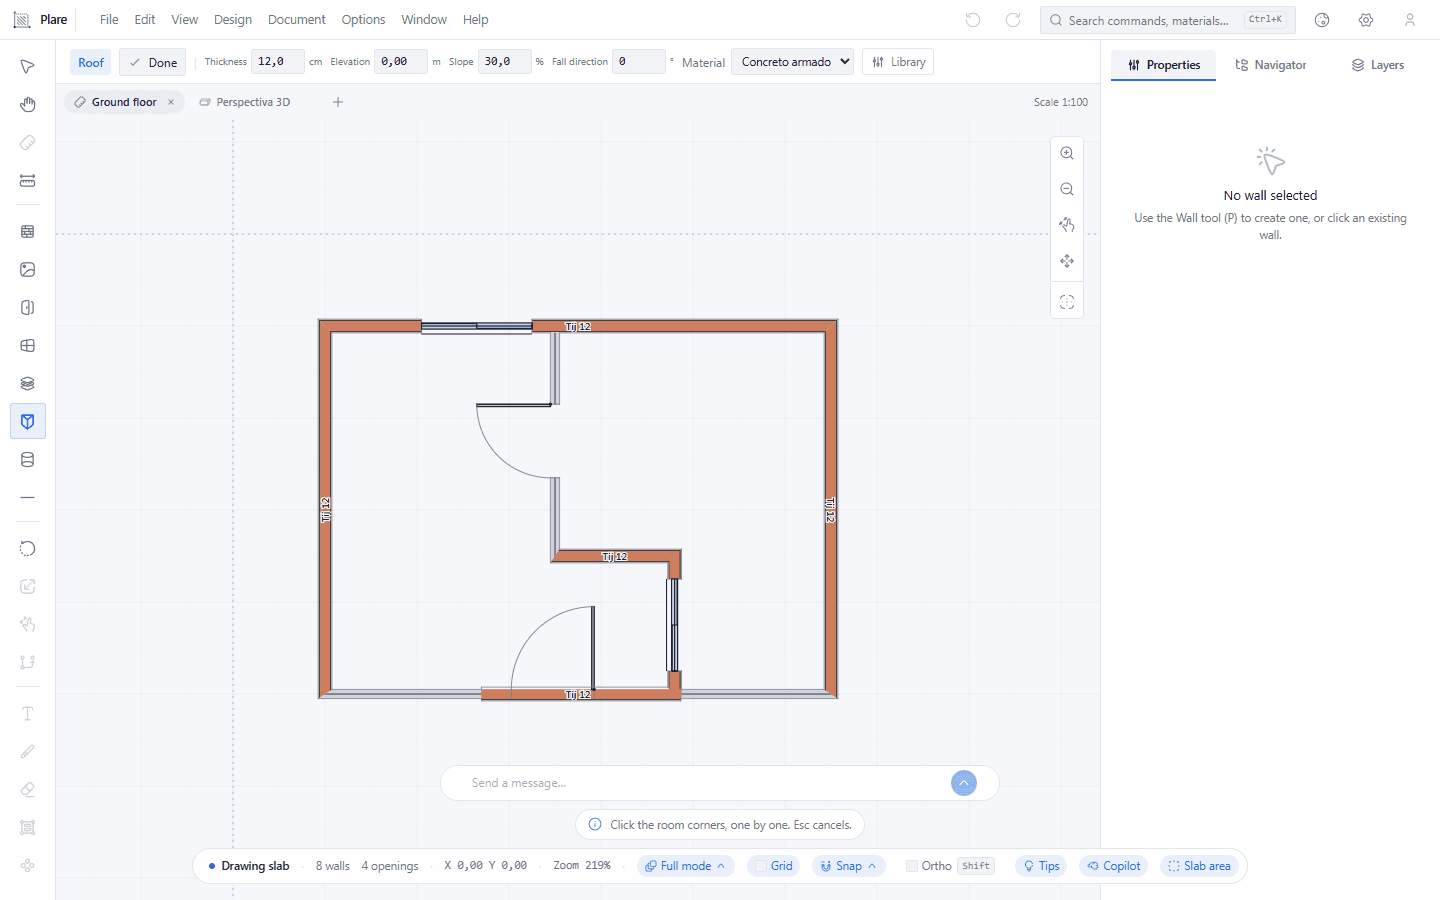
The bar starts showing the Pitch (%) and the Fall direction — the two fields a slab does not have. These decide how the roof is born sloped.
2. Click the corners of the roof, one by one.
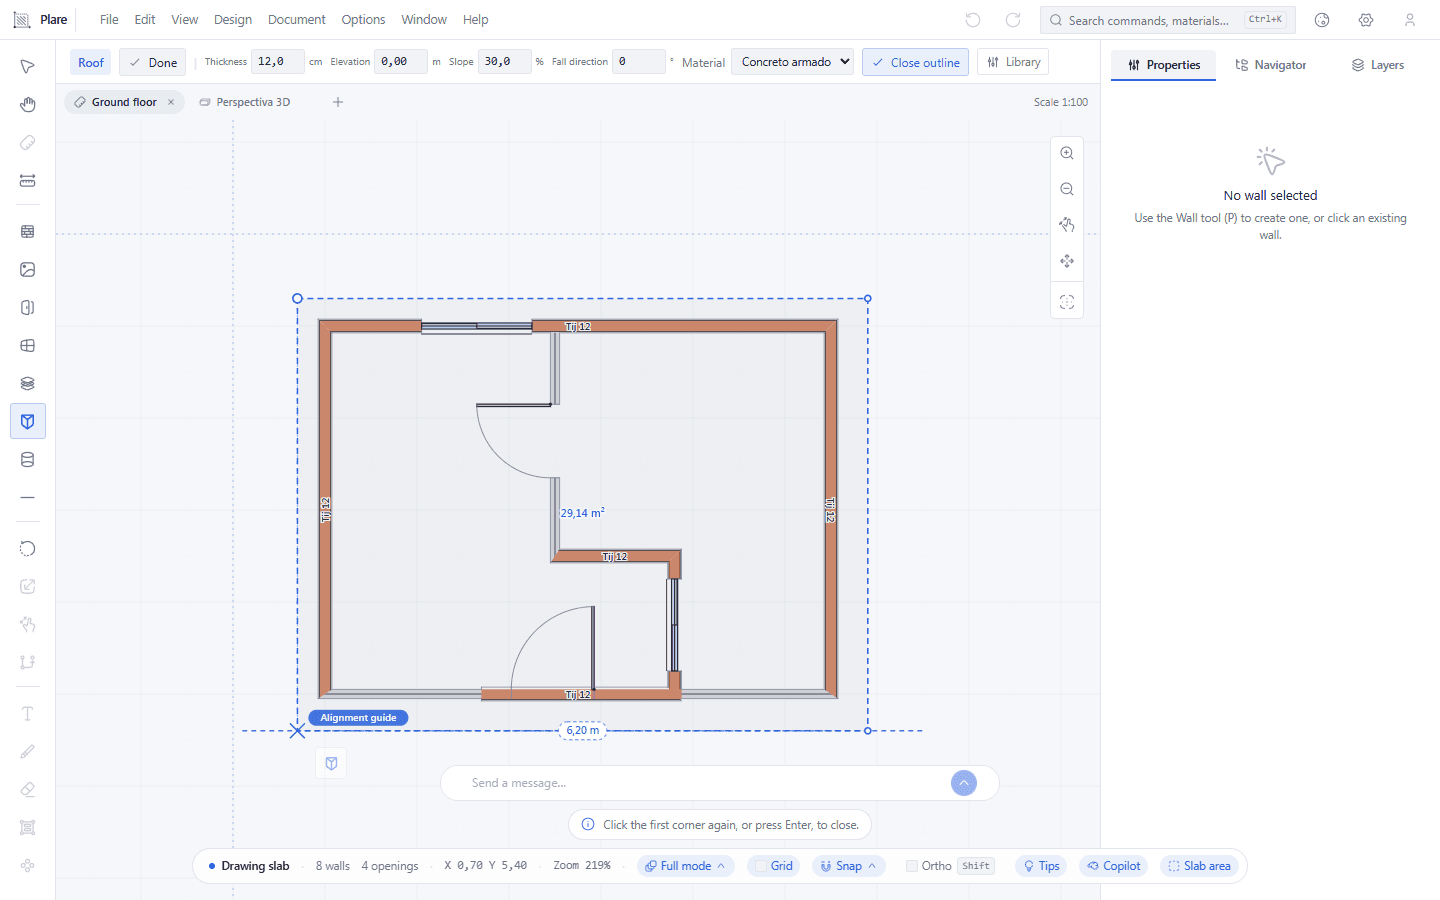
A dashed outline wraps the whole house and the last point follows the cursor on a rubber band, waiting for the click that fixes it.
3. Click the first corner again to close the polygon.
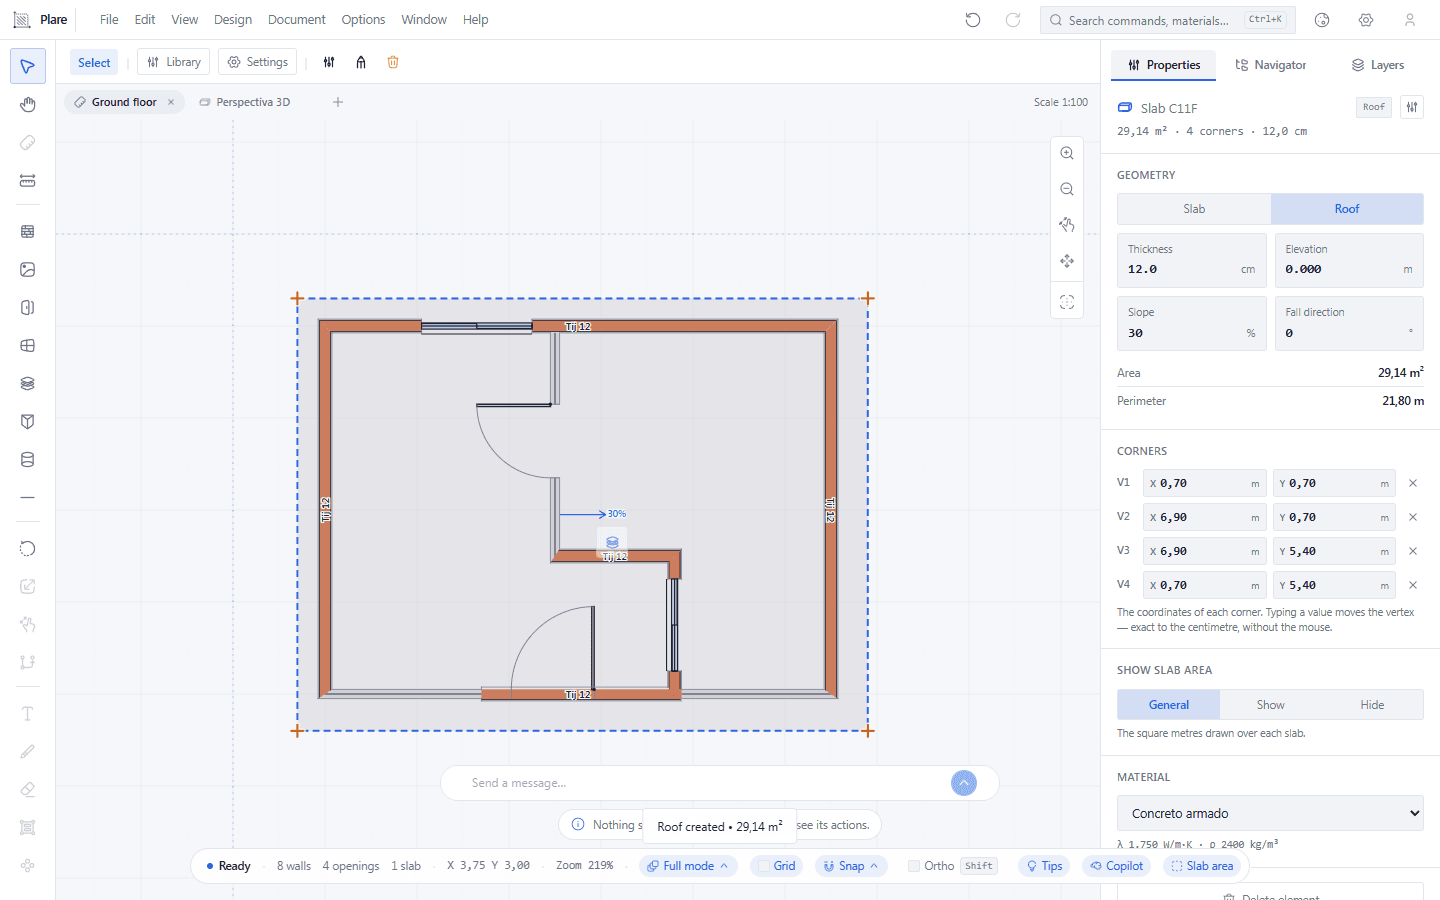
The roof closes and shows the fall arrow, marking which way it drains, and the area in m² written over it.
Worth knowing
- The drawing gesture is identical to the slab; what changes is the pitch.
- Default: 30 % pitch, falling at 0°. The 3D model follows the change while you edit.
- The pitch is a percentage, not degrees — 30 % is a standard roof pitch, not a 30° roof.