Slab
Draw the slab of a room by clicking its corners.
Step by step
1. Pick the tool.
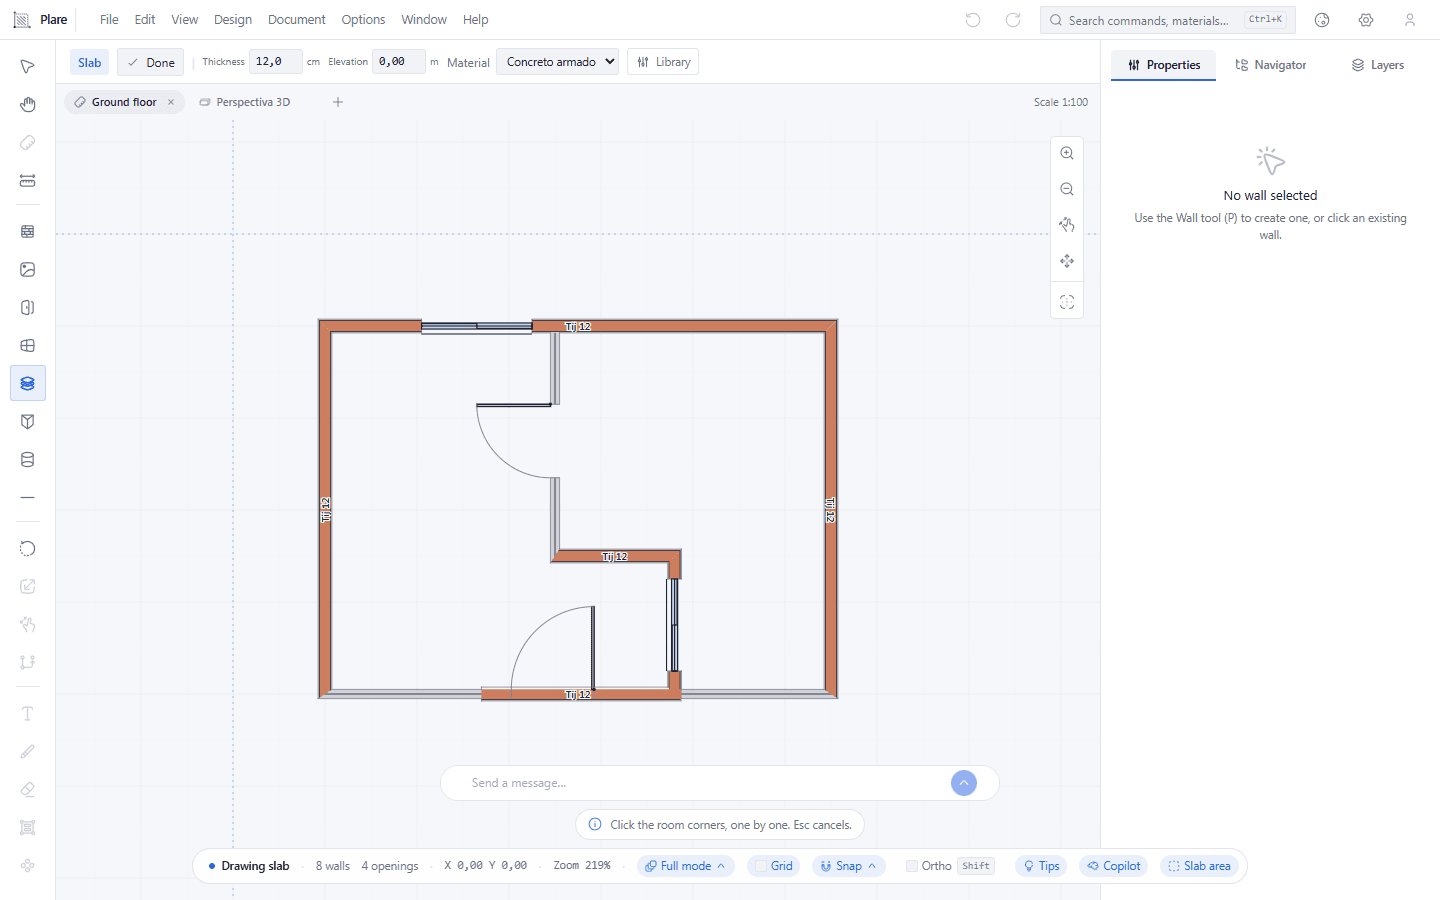
The bar under the menu starts showing the thickness, the elevation and the material — the three values the slab is born with, later edited in the Inspector. The plan is open, with no slab yet.
2. Click the corners of the room, one by one.
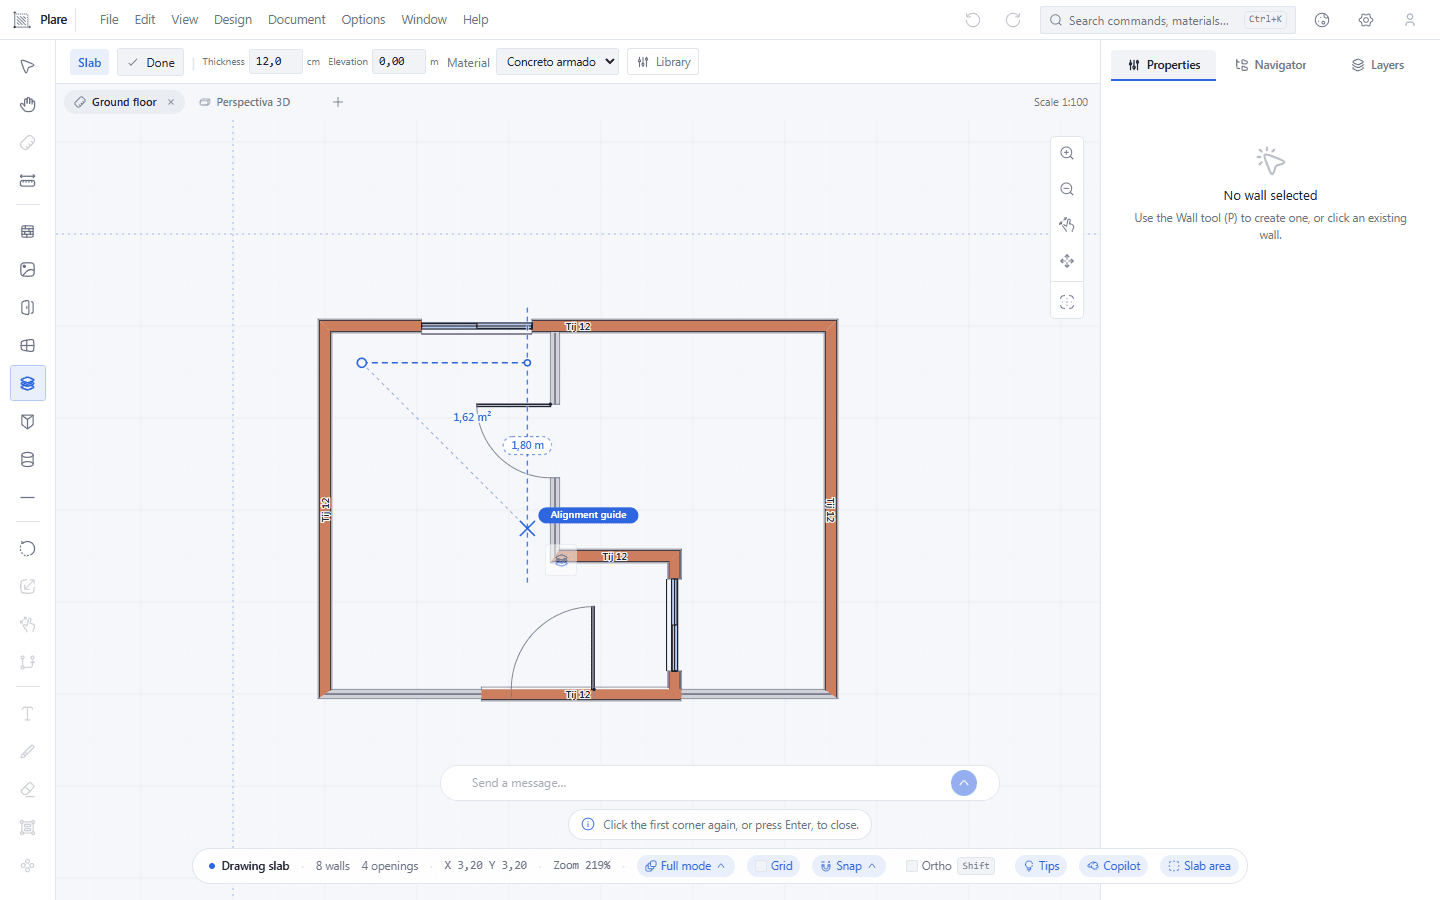
With two corners placed, the third follows the cursor on a rubber band of the outline. There is no slab yet: the outline is only a promise until it closes.
3. Click the first corner again to close the polygon.
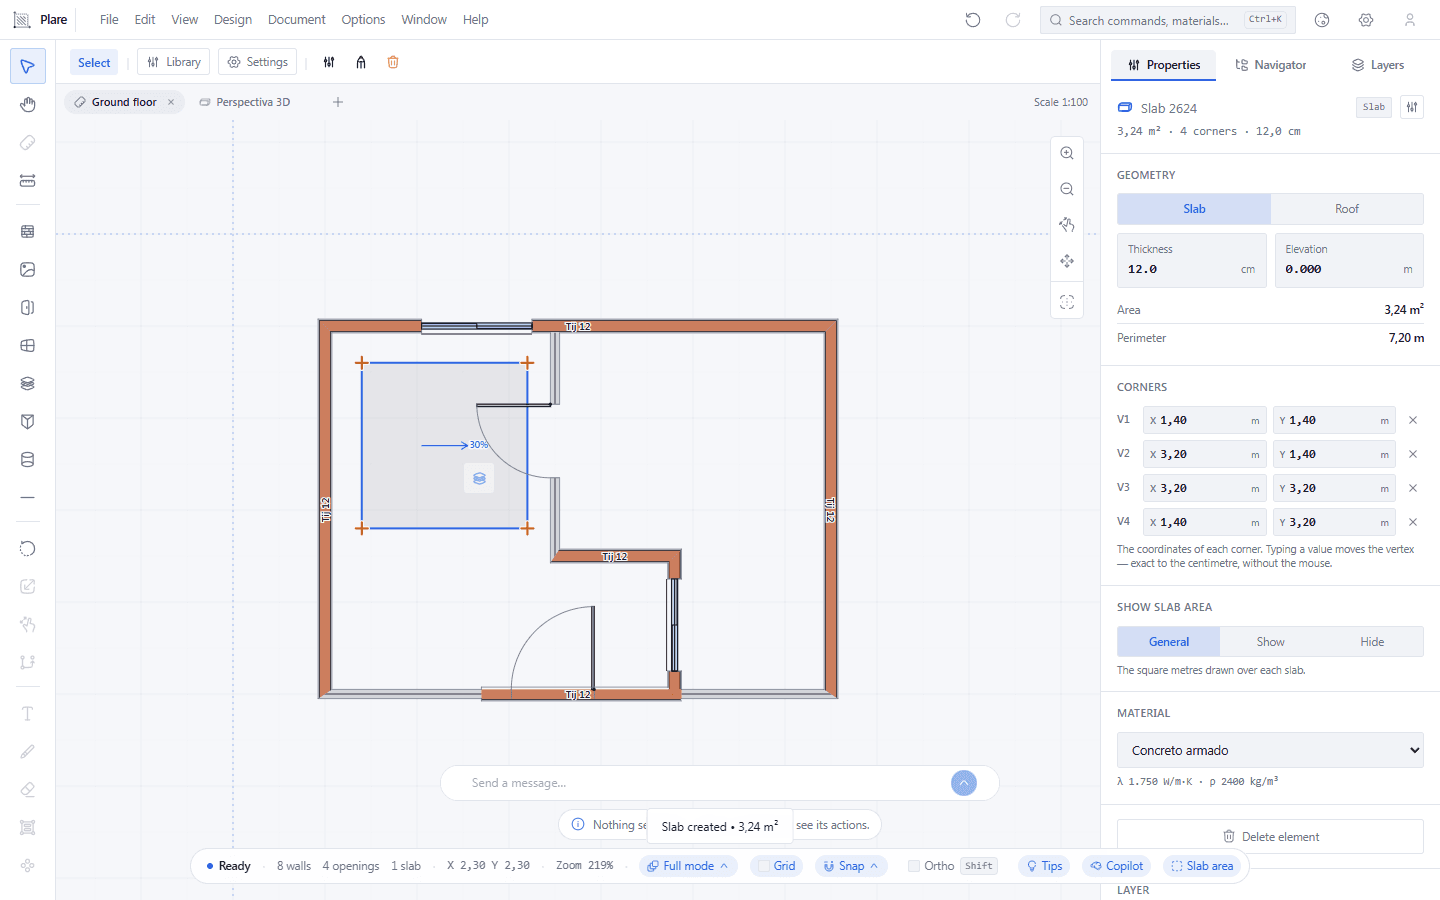
Once the outline closes, the slab comes out hatched, with its area written on top, and the tool falls back to Select. It was the closing that made it appear — the same polygon left one corner short stays invisible.
Worth knowing
- Until the polygon closes, there is no slab. The tip bar changes its sentence once there are enough corners to close.
- Default: 12 cm thick, at floor level. Thickness and elevation are edited in the Inspector.
- The slab is what closes the room from below — it is the floor of the model.