Wall
Draw walls in a chain, with a free or exact length.
Step by step
1. Pick the tool.
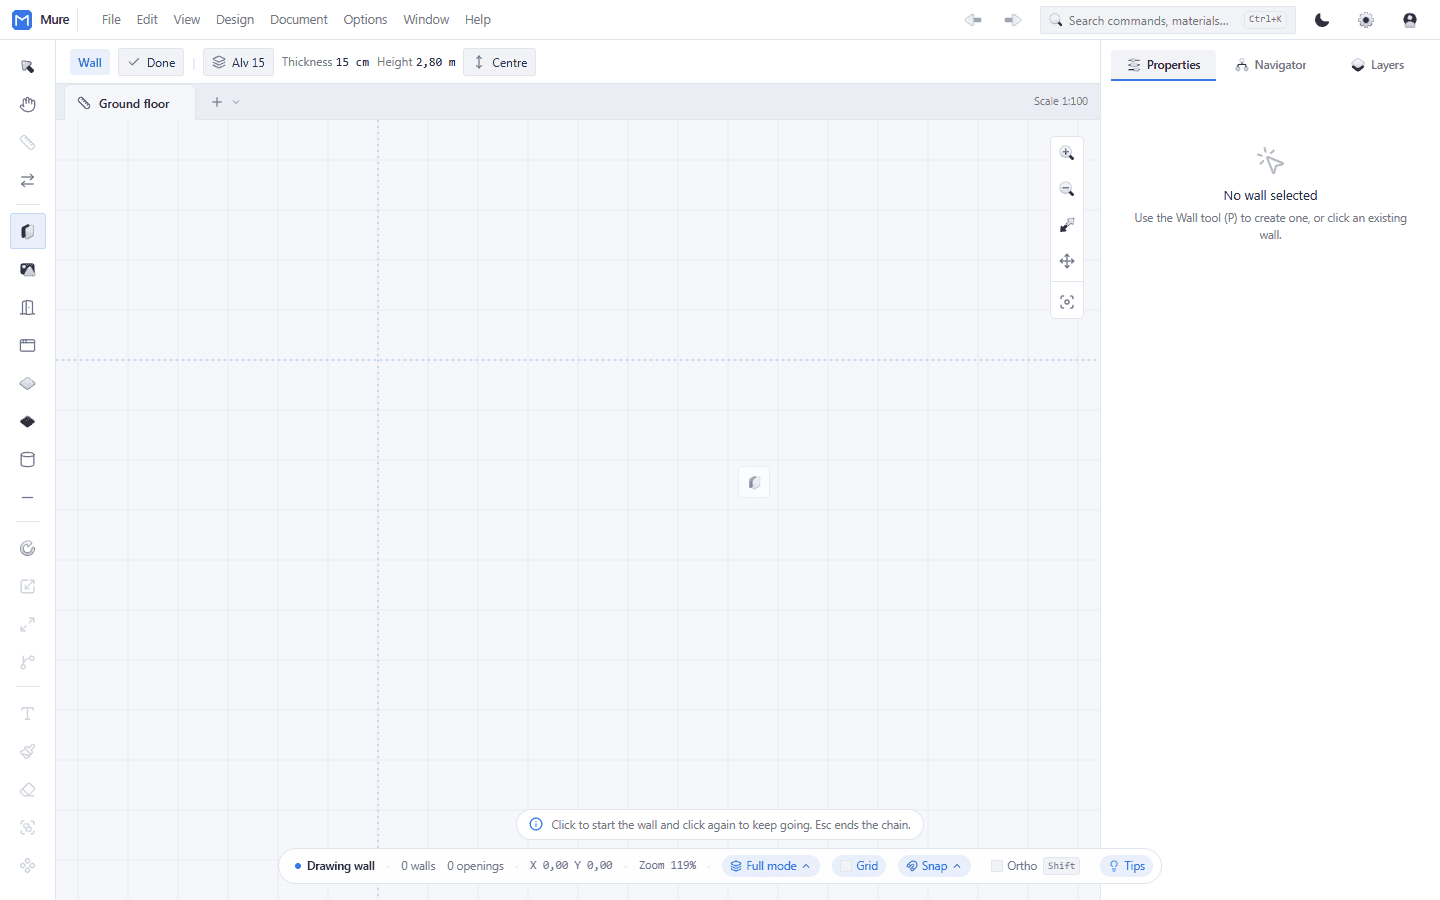
The bar under the menu starts showing the thickness, the height and the alignment the wall will be created with. These three values hold for every wall in the chain.
2. Click where the wall starts.
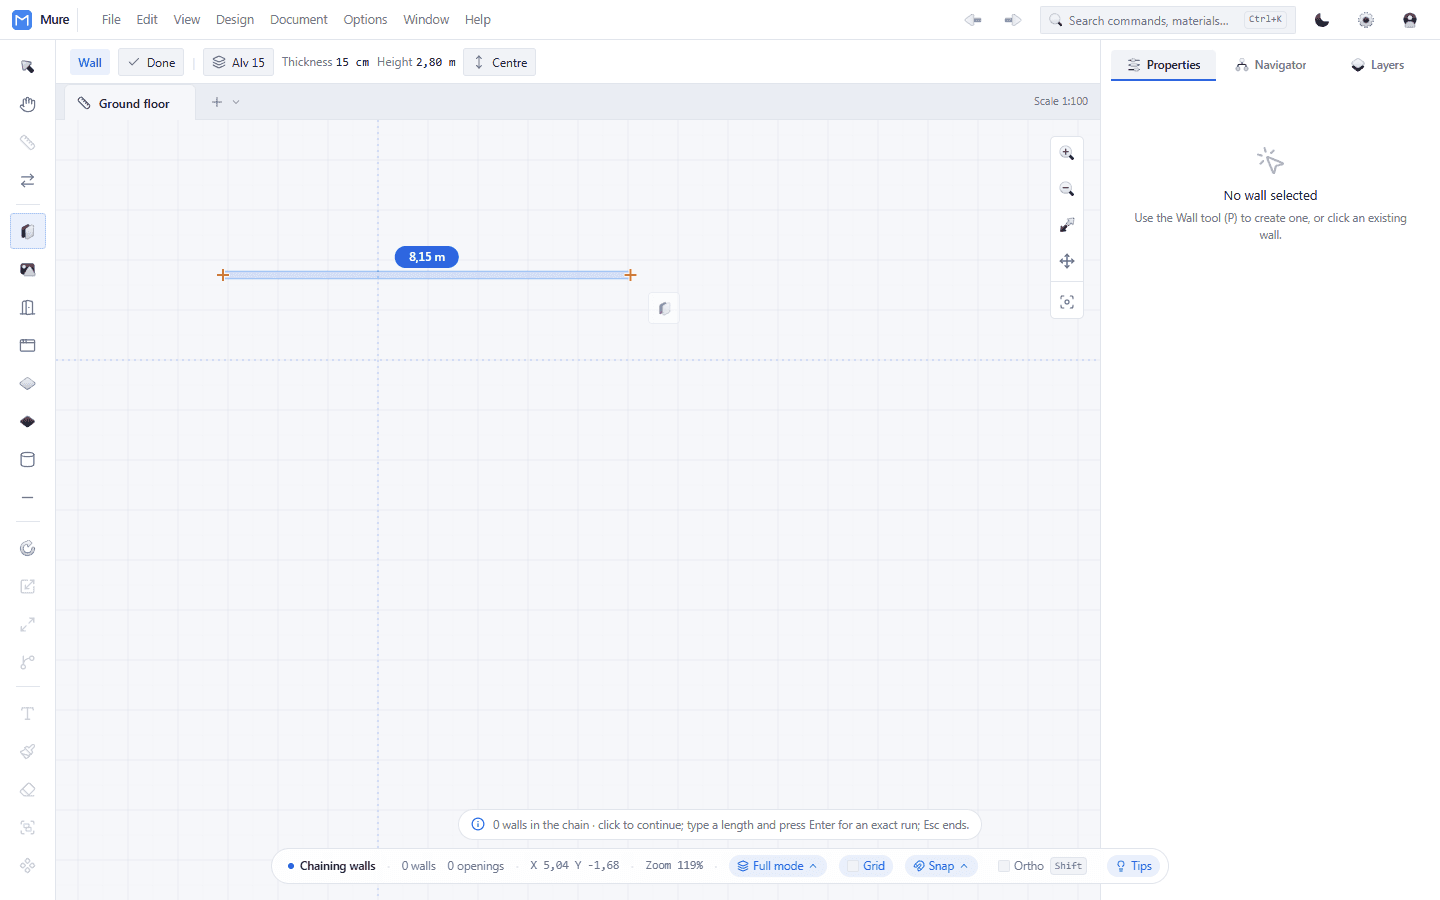
After the first click the wall follows the cursor, and the measurement appears on its own — no need to click to see it.
3. Click where it ends.
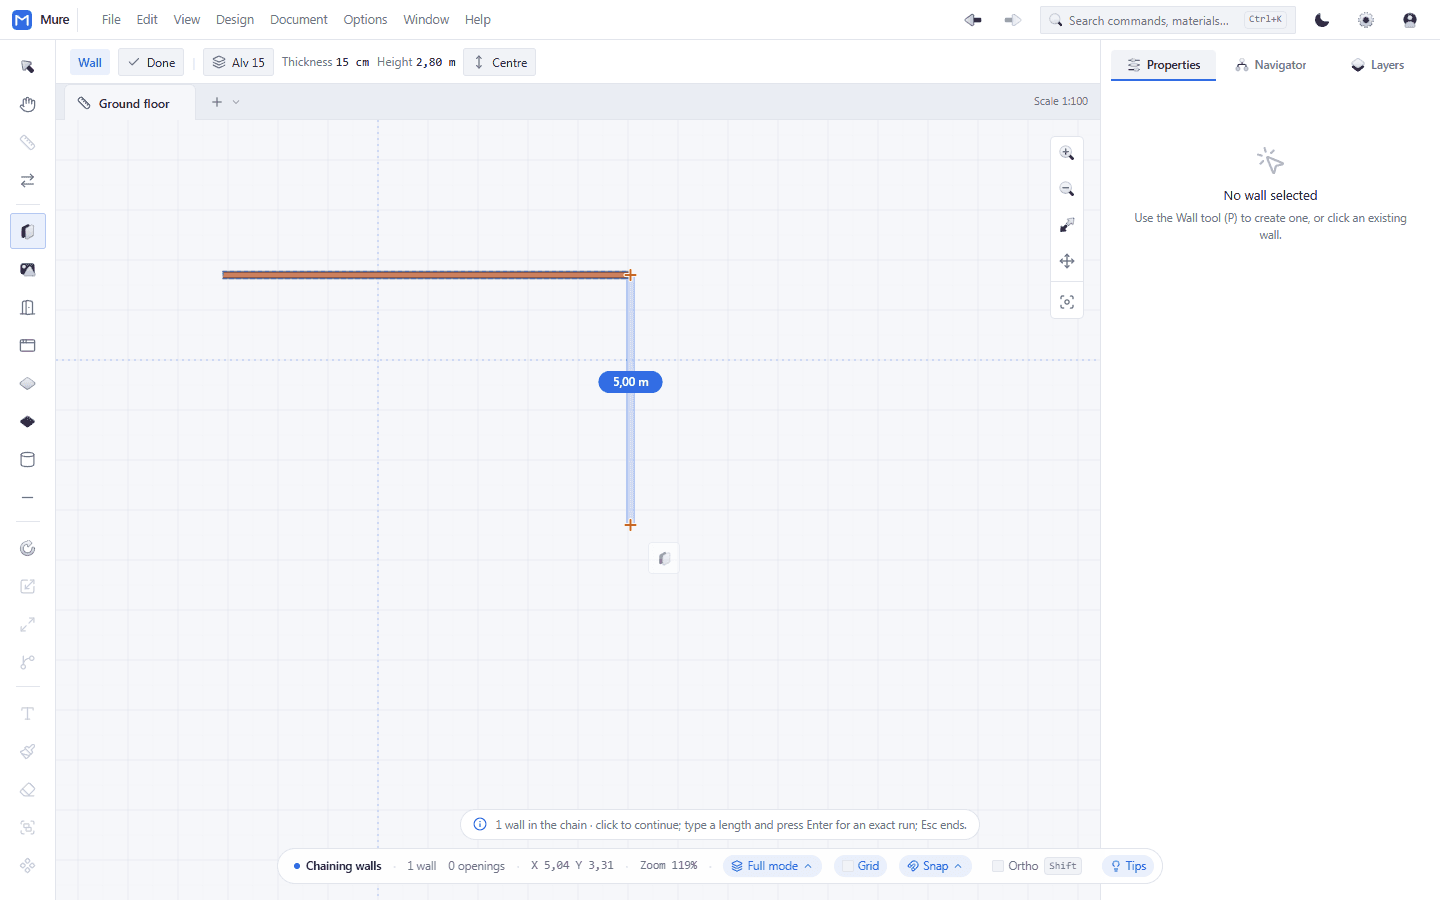
The wall comes out closed. And the line does not stop: it continues from the point where it ended, waiting for the next click.
4. Keep clicking to chain. Esc ends the run.
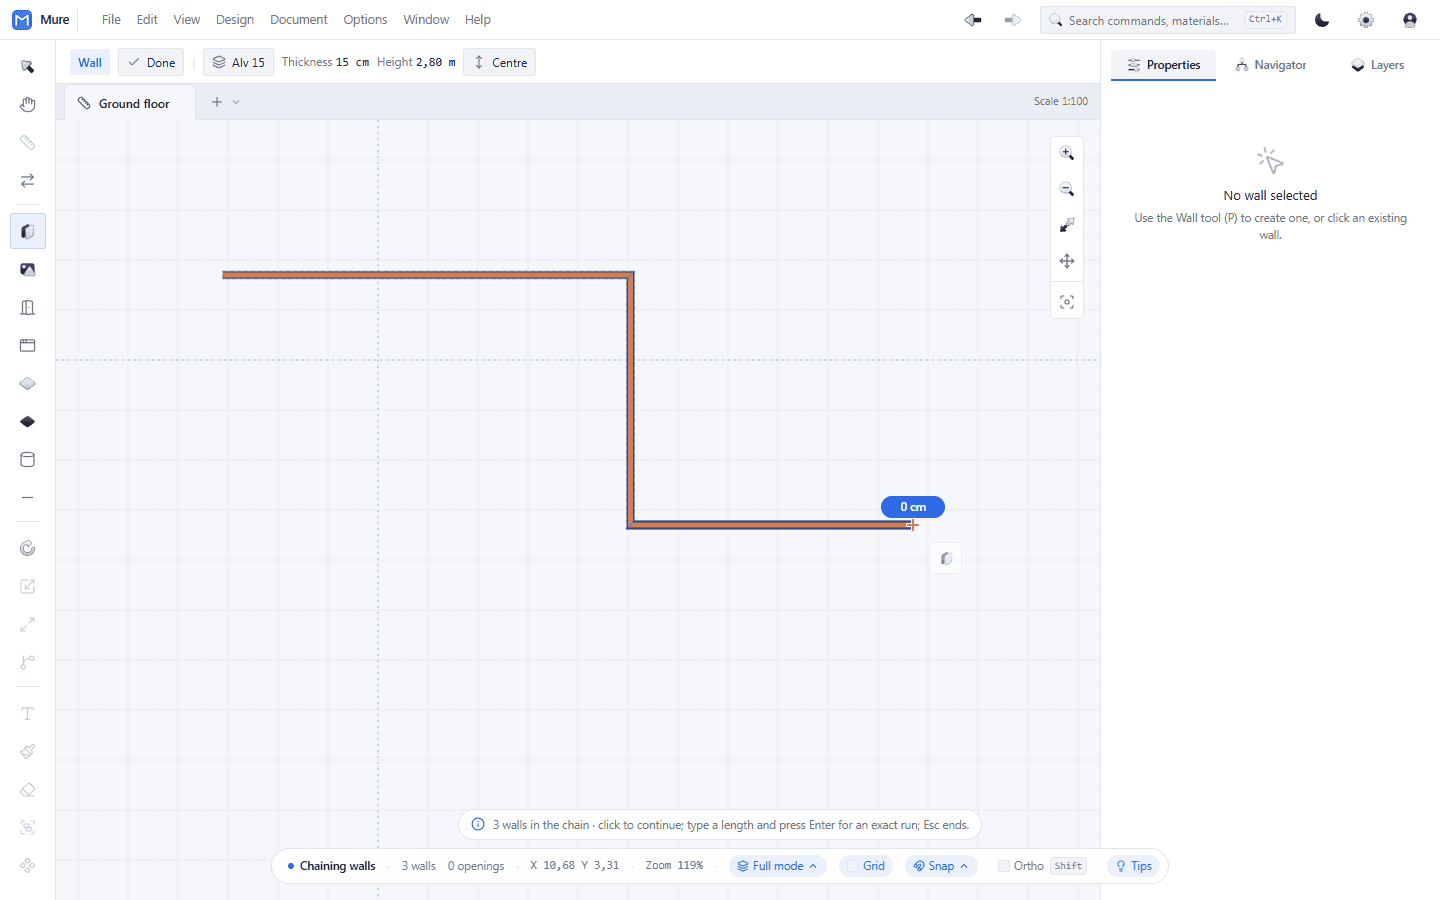
Three walls in a row, with a single tool. This chaining is what makes the tool feel like it will not let go — it is not stuck, it is waiting for the next point.
5. For an exact length, type the measurement instead of clicking.
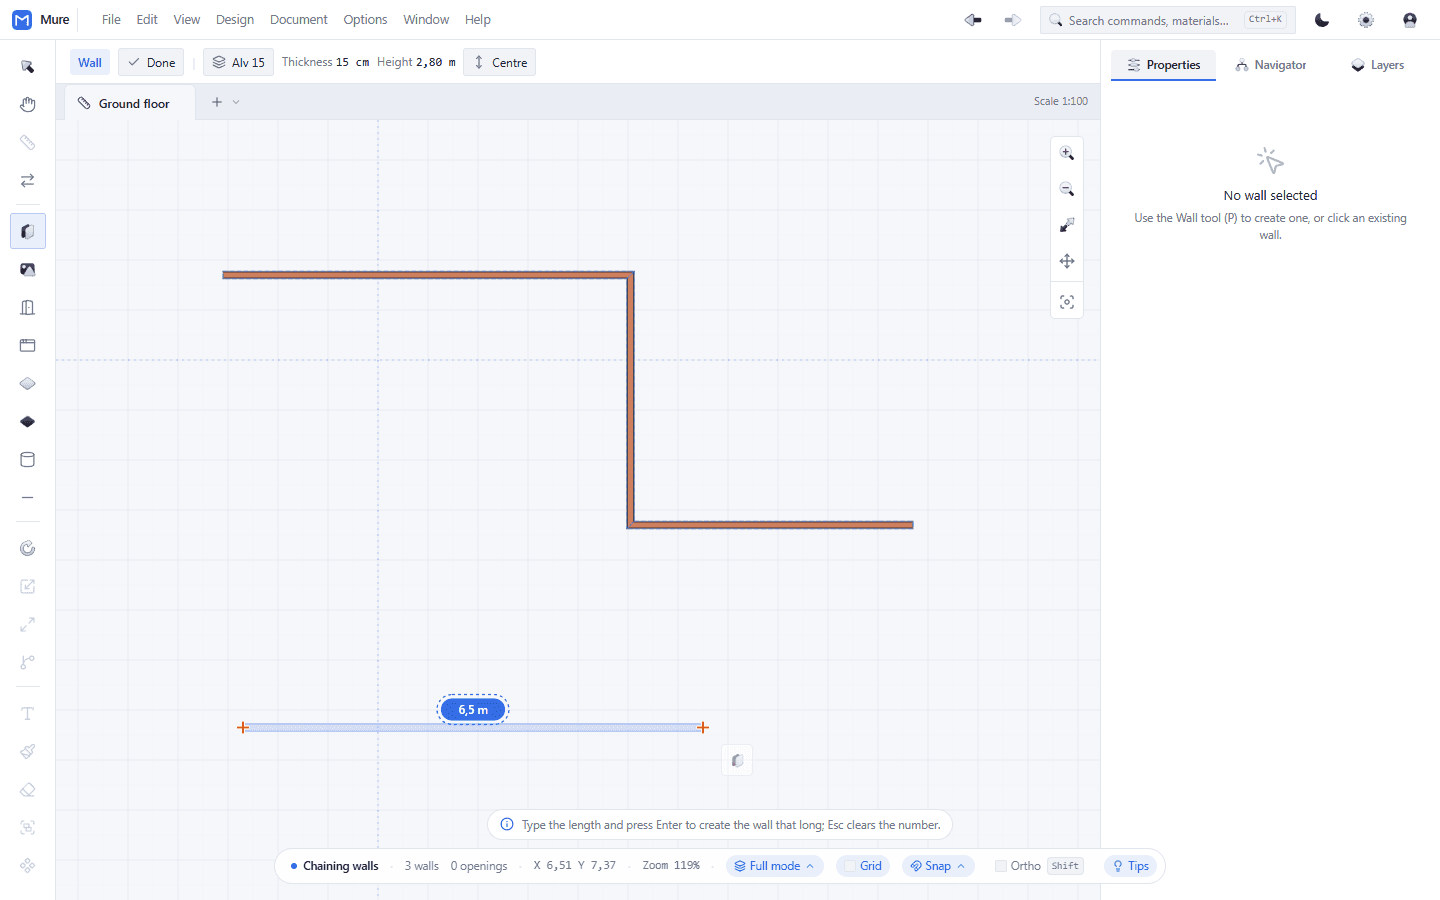
The number appears on the dimension line itself and Enter confirms it. The result does not depend on zoom or aim — you get exactly what you typed. Esc clears the number without dropping the tool.
6. Select a wall to inspect and edit it.
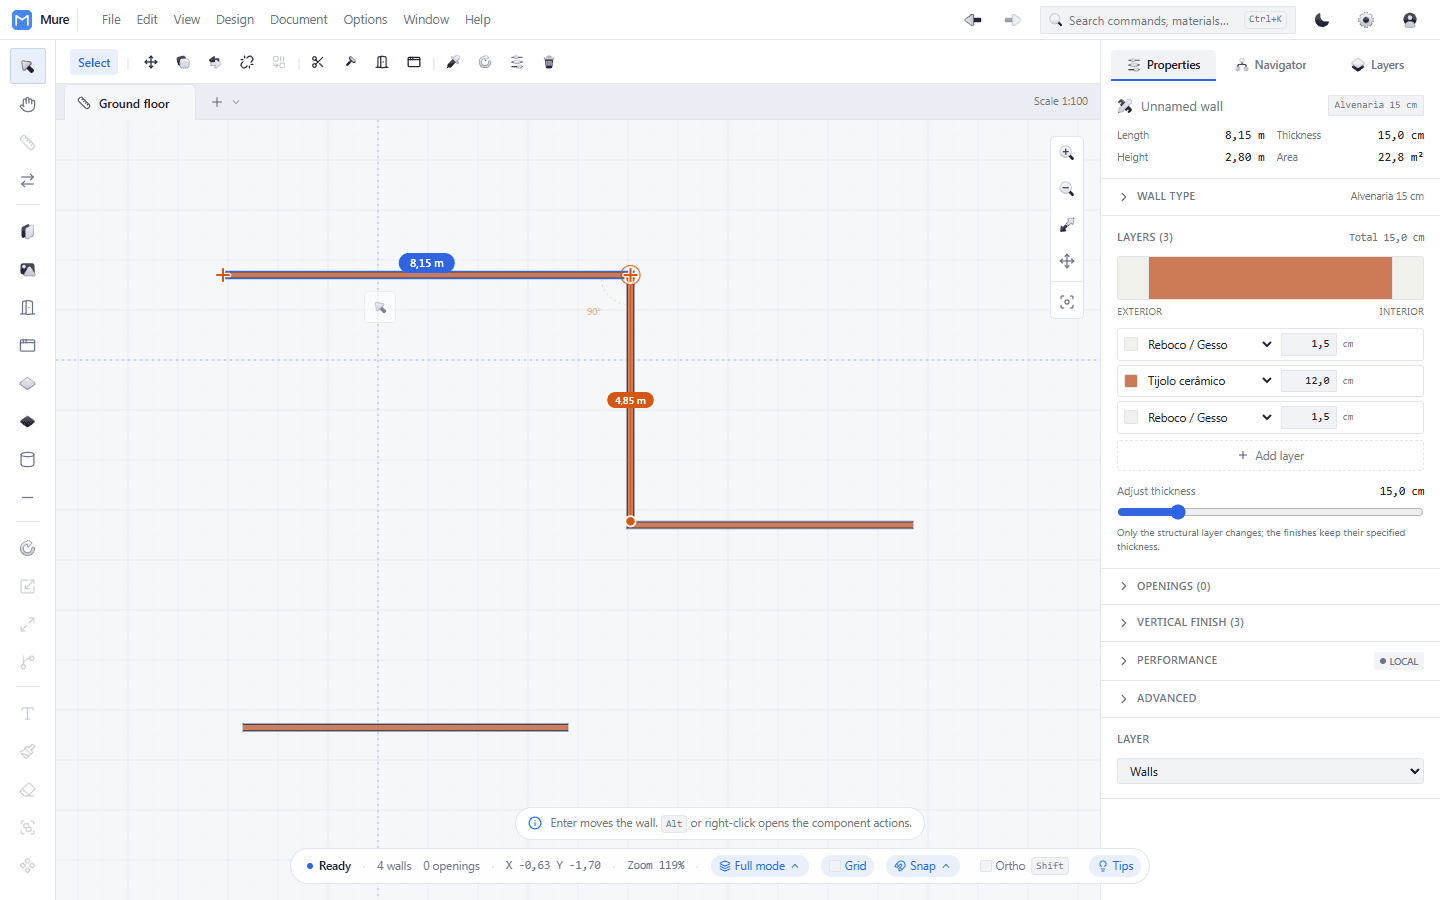
Properties show the length, the height, the area, the layers and the openings. With the wall selected, Enter moves it whole — the ends stay attached to their neighbours.
Worth knowing
- Type the length and press Enter to get a wall of exactly that length, independent of zoom or aim.
- With a wall selected, Enter moves the whole wall — the ends stay attached to their neighbours.
- Alt, or right-clicking the wall, opens the component actions: split, join, flip side.
- Walls are the source of the drawing: the 3D model is generated from them.
Related tools
Why the wall is the tool that matters
In Plare the plan is the source of the model. There is no separate 3D file: the walls you draw in plan are extruded to give the volume, and that is why a badly closed wall shows up as a hole in the three-dimensional model and not as an error in the plan.
Worth keeping that in mind while drawing. Closing a room is more than tidying lines: it is what decides whether the room exists in 3D.
What a wall carries
Each wall is not a line. It stores:
- Thickness — the value in the options bar at the moment it was created. Change it later in the Properties panel, or through the thickness adjustment.
- Height — floor to ceiling. It is what decides the room's clear height in 3D.
- Layers — the make-up of the leaf (render, masonry, render) and what each one measures. This is where the area and the thermal behaviour come from.
- Openings — the doors and windows cut into the wall. They are not separate objects: they live inside the wall.
Mistakes that cost you
Leaving the chain open. If you switch tools halfway, the last wall is left unclosed. Esc ends the run on purpose and it is the right gesture to get out.
Drawing two overlapping walls instead of one. Two walls in the same place give two added thicknesses and a strange 3D. If the wall is already there, select it and edit it.
Changing the thickness after cutting a door. The door is the width of the opening the wall had. Changing the thickness does not break the opening, but it is worth looking at it afterwards.
From plan to volume
The 3D is generated from what is in plan, in real time. There is no export step and no waiting: close a wall, and the room appears in the volume. If something in 3D does not match the plan, the problem is almost always in the plan — one wall too many, a loose end, an opening left unclosed.