Select
Select elements to move, edit or delete.
Step by step
1. It is the tool a project opens with.
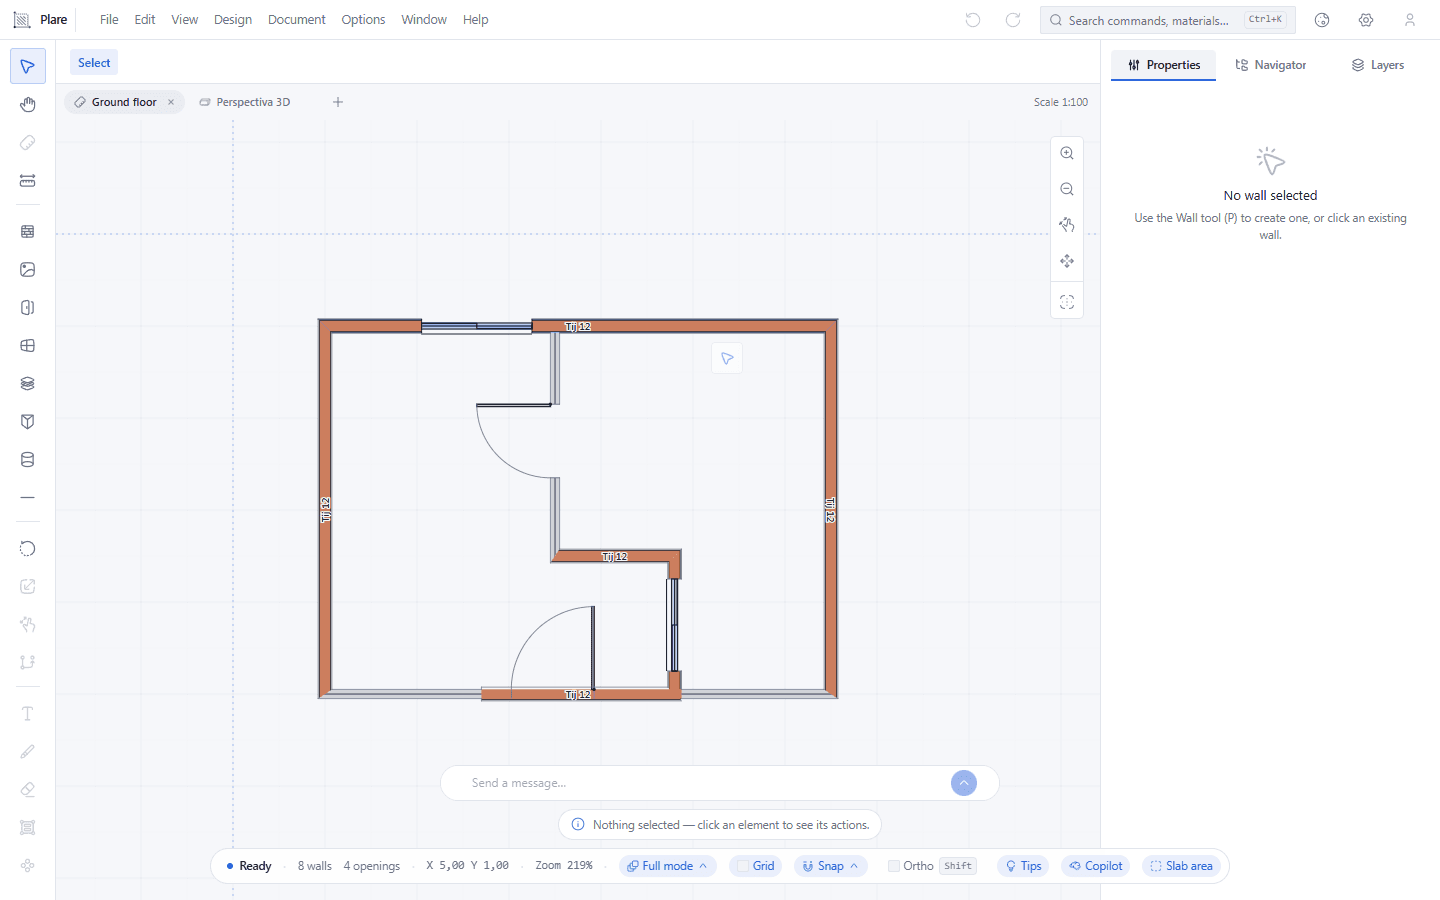
With nothing chosen, the bar under the menu stays empty and the Properties panel asks you to select an element. Every other tool falls back to this one with Esc.
2. Click an element to select it.
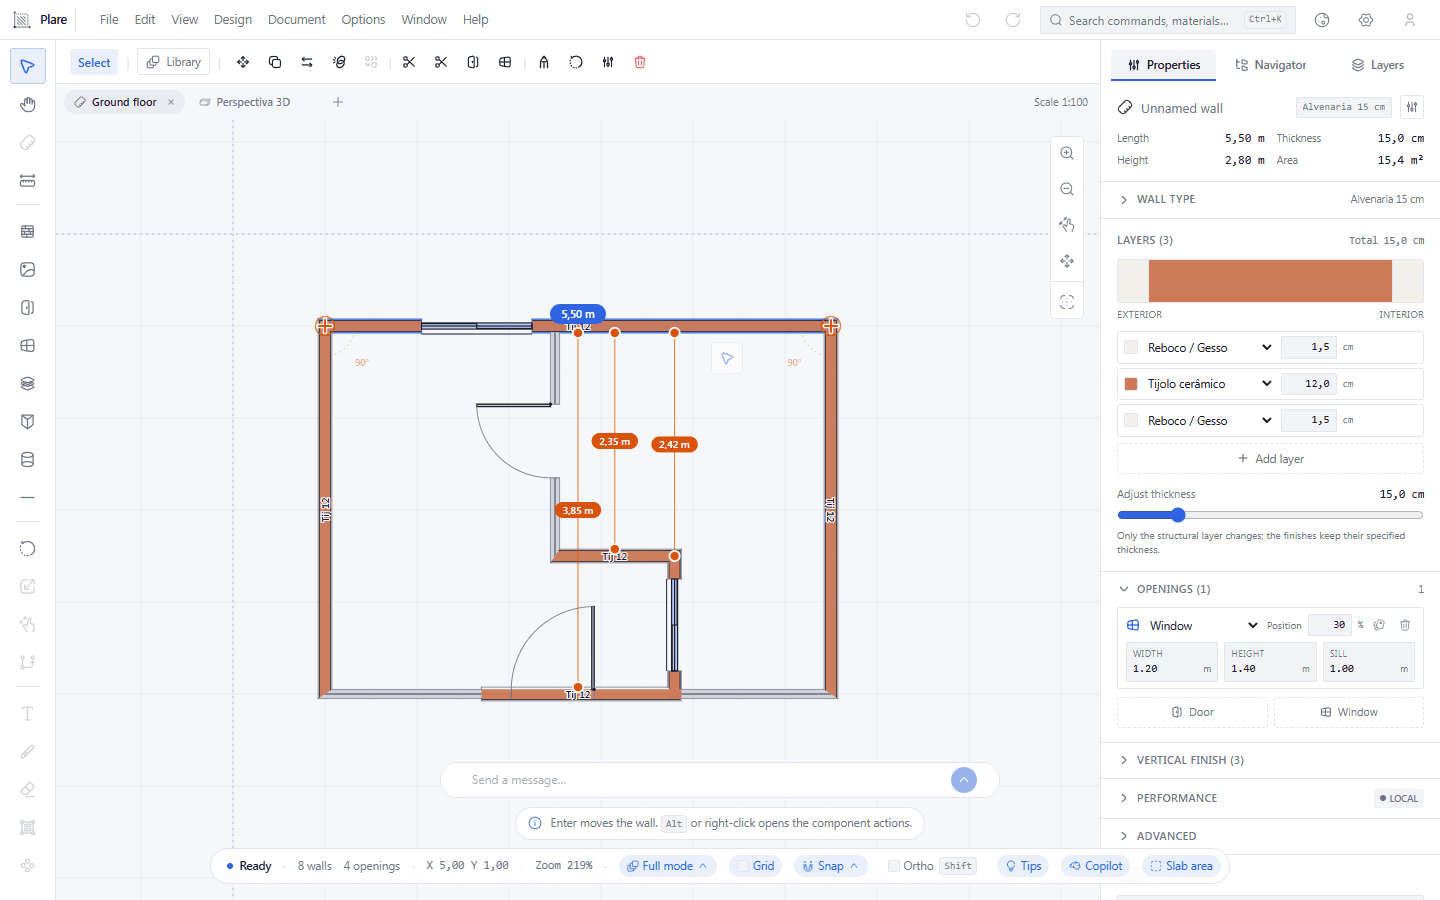
The wall is highlighted, grips appear on its ends, and the bar starts offering its actions. The Properties panel fills up: length, height, area, layers, and the openings cut into the run.
3. Drag a rectangle around what you want, to catch several at once.
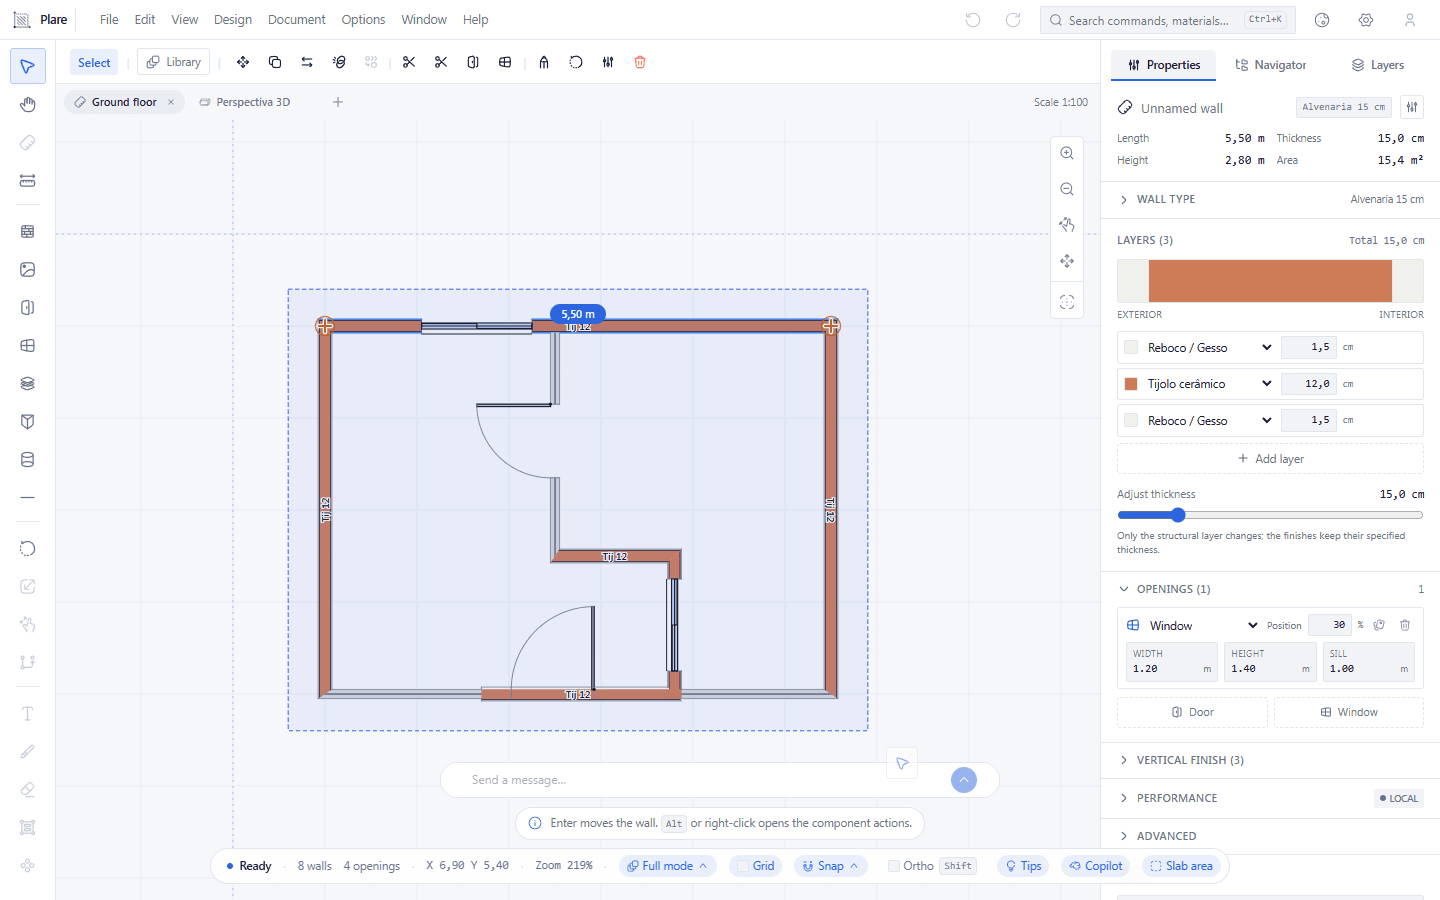
The marquee catches everything it touches. It is the gesture for moving a whole room, or for adding to the selection what is not one click away.
4. Select an opening to see its actions.
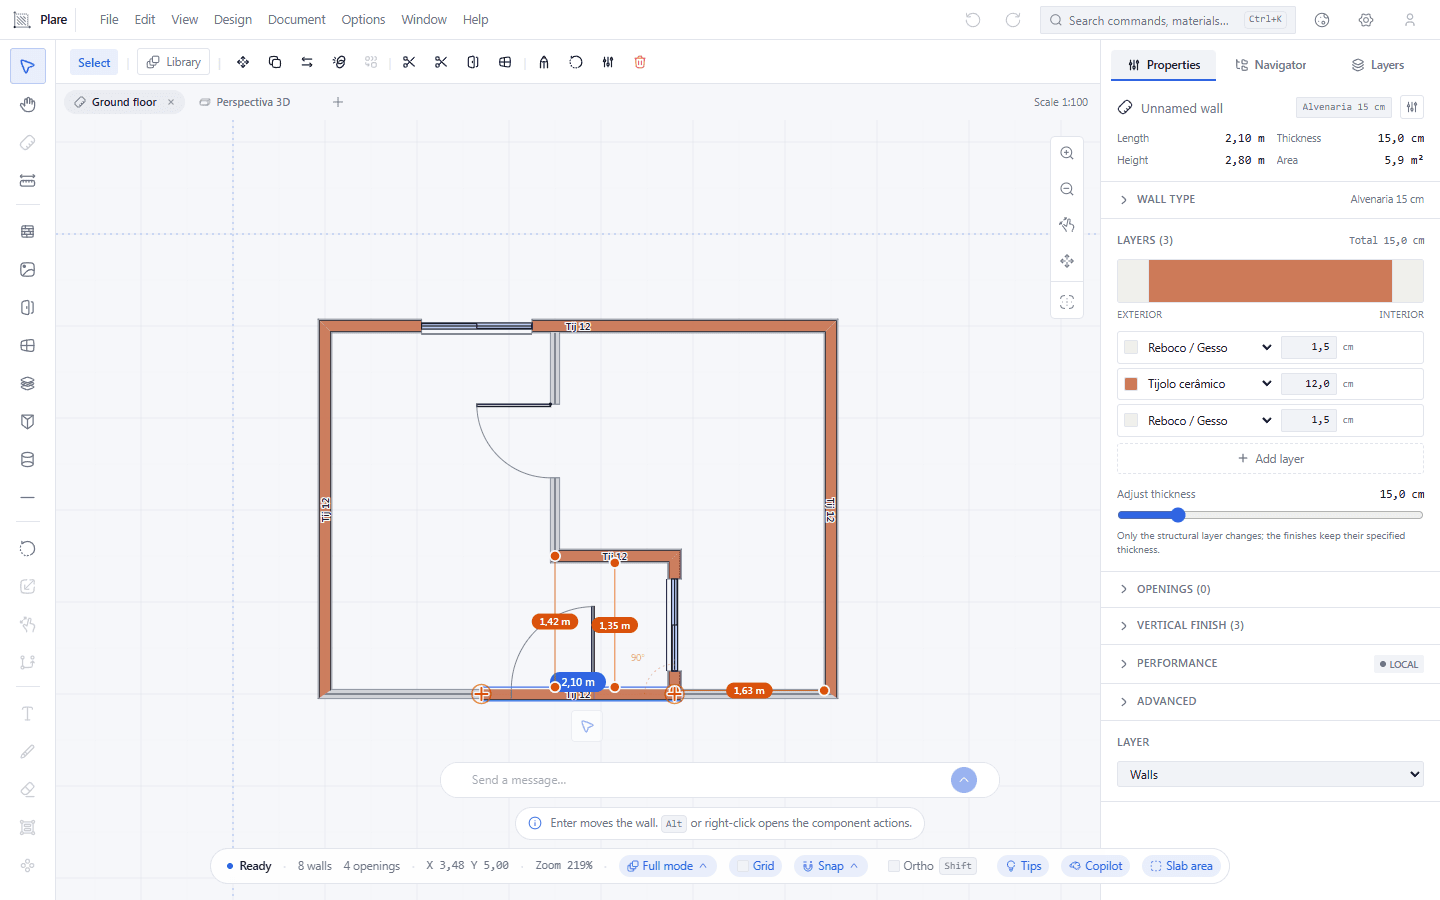
Doors and windows live inside the wall: they only let themselves be caught once the wall containing them is selected. The inspector becomes the opening's — width, height, sill and position along the run.
Worth knowing
- It is the default tool — every other tool falls back to it with Esc.
- With one wall selected, Enter moves it; with several, Enter moves the group.
- The actions menu (Ctrl+K or right-click) changes with whatever is selected.
- An opening (door or window) can only be selected once the wall containing it is already selected.